

So we all know the song..."Rain, rain, go away..." This fall here in Georgia has been rainy and miserable. I can definitely amuse myself during these onslaughts with a good book or nap, however, there are only so many hours a toddler can take of it. My poor Colin has been inside for the better part of the week and I knew I needed to distract him from that fact or risk meltdown. So, I went on a search on Pinterest for activities to keep us both occupied!
Not knowing how long the rain would last, I found two perfect distractions that I knew would be at his level and fun. Being a crafter, I started there.

This sweet little guy was adapted from a similar one by Mainly Homemade. Her spin was a dry-erase version, equally adorable, but not necessary for our purposes (at least not until we master writing letters). I just loved the idea of tracing our hands as a family and having this dated keepsake that we can look back on and cherish. Colin's hand print is so teeny and I look forward to the day when we look back at this guy and giggle at how it's changed! The supplies were pretty basic (Cricut excepted) and all things that I had on hand.
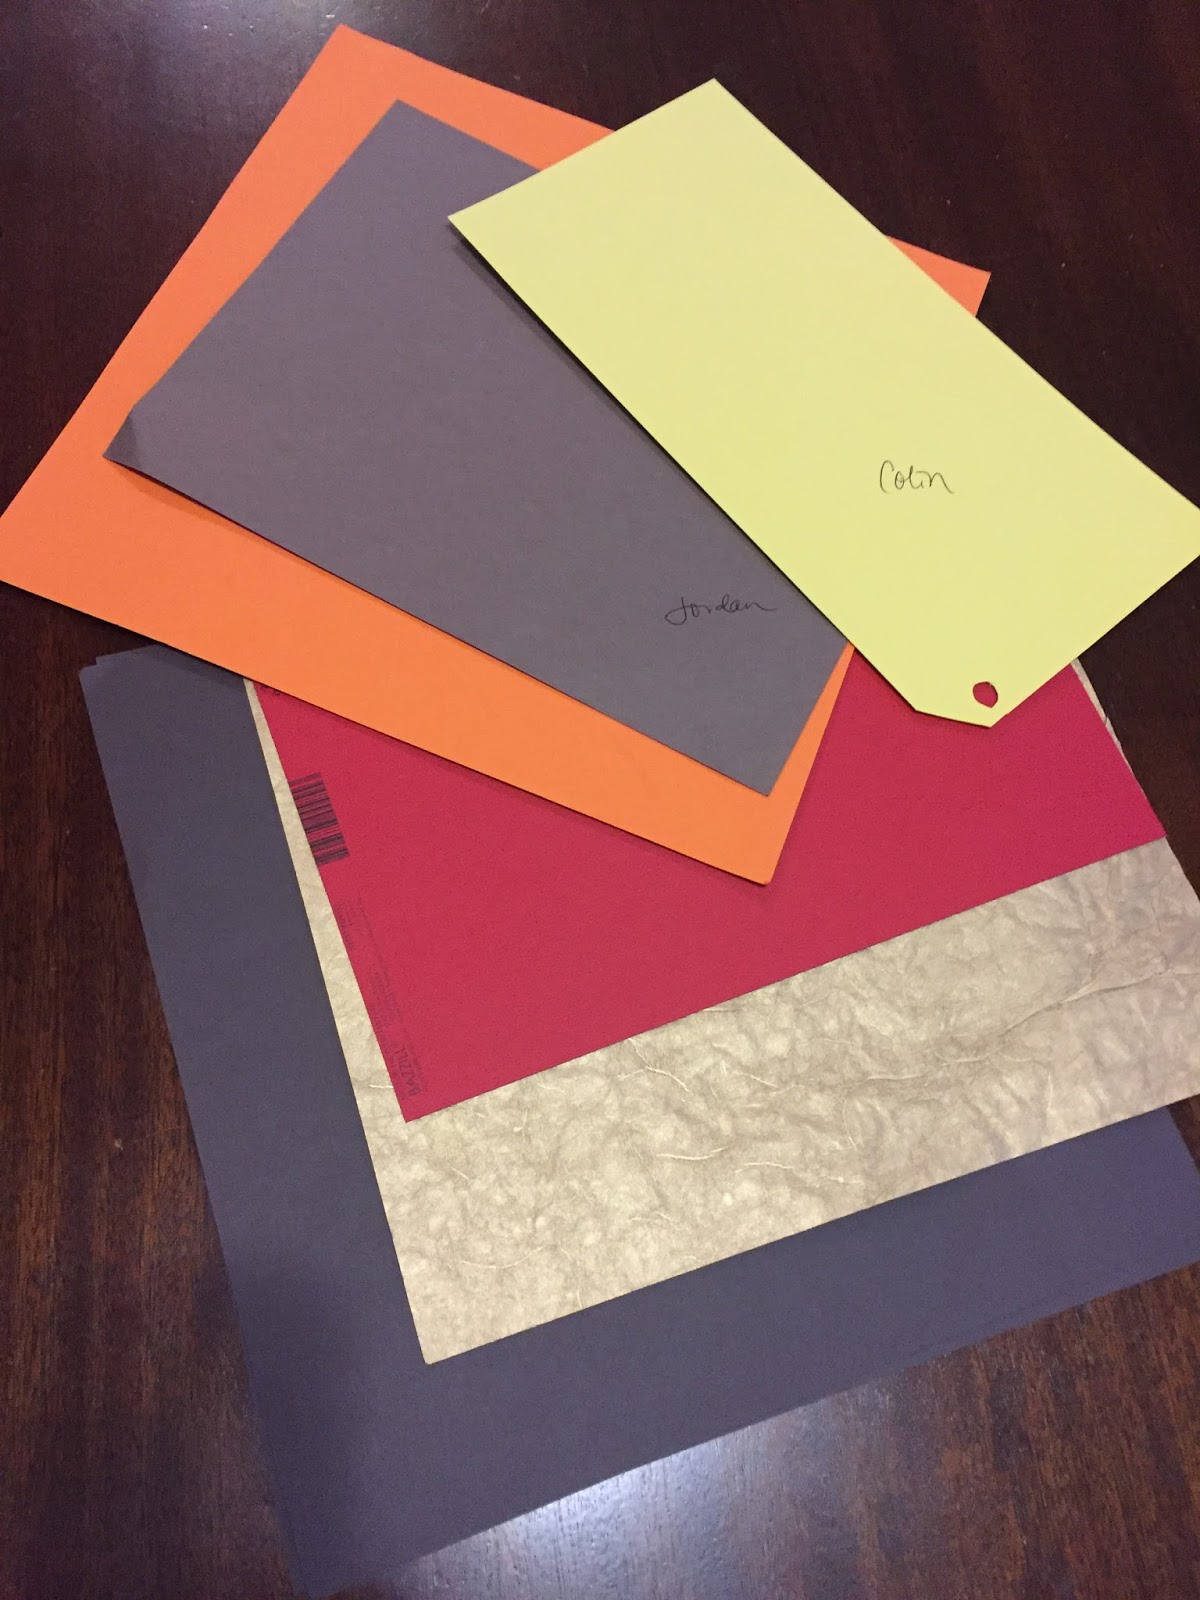 |  |
- assorted fall colored cardstock
- rubber cement
- scissors
- 2" circle punch
- 8 1/2 x 11" frame
- Cricut die cutting machine (if you're like me, it's the old version)
- Calligraphy Collection Cricut cartridge
I chose a cardstock color for each of us and traced our hands for the layering of the turkey's feathers. This sounds simple enough, but I assure you, if your child is young, like mine, please have a diversion. I suggest candy, as that was the only way I was able to get a tracing that was close to the shape of his actual hand.

After that it was cutting each traced hand, eyes, a teeny beak, a gobble, your 2" circle for the body and what I think looks like a bowling pin shape for the head. Follow that with the simple assembly using the rubber cement. This stuff stinks to high heaven, but I find that there is less mess and better adhesion with it.
 |  |
The process was fun to show Colin and keep him occupied, especially since he was able to color and play with the extra (unusable :)) hands! I wrote in the date with my Sharpie, to ensure we remembered when it was made. And the final step was to cut out the letters. Plug in your cartridge and keyboard and you have them ready to glue in less than five minutes. (If you don't have a Cricut, or other die-cutting machine, you could just pick up some letter stickers from your local craft store too!)
The results are adorable and Colin does not go into the dining room without saying hello to his "churkey." Cabin fever averted!

The results are adorable and Colin does not go into the dining room without saying hello to his "churkey." Cabin fever averted!

The second distraction had to be baking! I love to bake and from the reaction that follows when I pull out the Kitchenaid, so does my son. With my teeny assistant on a chair beside me, I set to work on some Fall themed Snickerdoodles. Simple and delicious, and made in small batches, these are definitely crowd pleasers. Your list of ingredients is as follows:
|
|


- 1/2 c unsalted butter, softened
- 1/2 c granulated sugar
- 1/3 c light brown sugar
- 1 egg
- 1 tsp vanilla
- 1 1/2 c all-purpose flour
- 1/2 tsp baking soda
- 1/4 tsp cream of tartar
- 1/4 tsp salt (optional - but I always love salt)
For Rolling:
- 1/4 c granulated sugar
- 2 tsp cinnamon
You will start with your sugars and butter in the Kitchenaid until they are creamed. Eggs and vanilla go will follow, mixing until fluffy. The remaining dry ingredients are the final addition to the dough (and if you need more explicit instructions, they are available in the link above!). Your results should look like this:
|
|


Once you've chilled the dough, preheat your oven to 350° F. Set up your "rolling station" with a mixing bowl containing the sugar & cinnamon mixture, your dough bowl and a cookie sheet lined with a Silpat or parchment paper.
|  |

Roll your dough into 2-inch balls and then cover with your sugar mixture. Place your sugared cookie balls on your tray several inches apart and slightly flatten them with your hand. And, if you're making these with your toddler, decorate them with Sprinkles because, who doesn't LOVE sprinkles??
Bake your cookies for 9 minutes and be sure your little one's fingers are far from the oven. My little guy loves to peek inside while they bake, but knows how hot the contents are!
 |  |
Bake your cookies for 9 minutes and be sure your little one's fingers are far from the oven. My little guy loves to peek inside while they bake, but knows how hot the contents are!

I use a cooling rack, cause I think the cookies tend to cool faster on one. Once cooled, they are ready for snacking. THIS is the hardest part of the cookie process!! But they were certainly worth the wait and looked so pretty with Colin's Fall Sprinkles. He was so proud enjoying his little treat!


No comments:
Post a Comment